

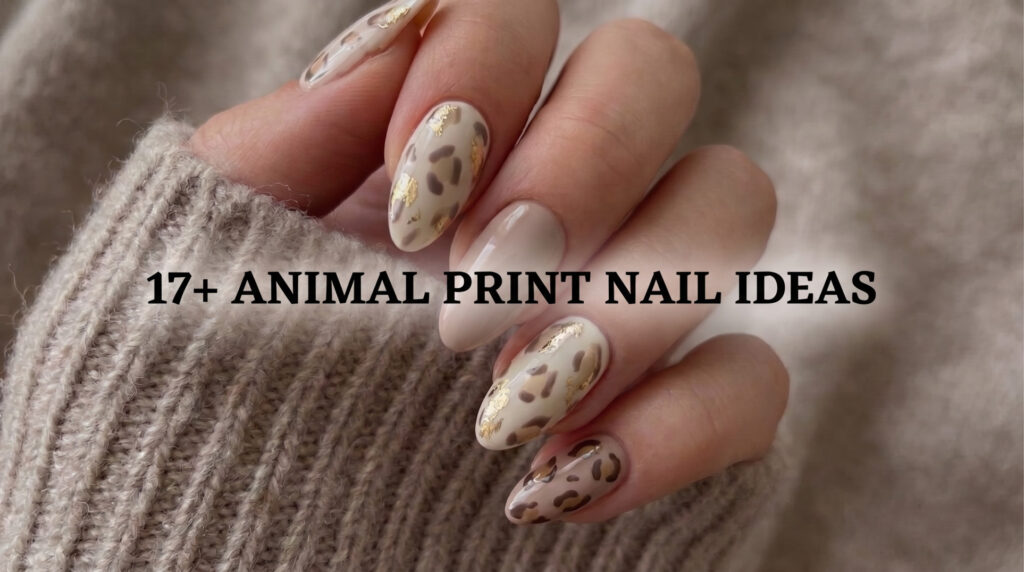
I still remember the first time I tried leopard print nails at home. I watched maybe three tutorials, felt super confident, and ended up with spots that looked less “chic safari” and more “my cat walked across wet polish.” That was four years and probably sixty manicures ago, and animal print has become one of those trends I keep coming back to because it genuinely never gets old. It just keeps evolving.
If you’ve ever scrolled past a leopard or zebra nail set and thought “that looks amazing but also terrifying to attempt,” I get it. Animal print has this reputation for being loud or hard to pull off. But once you actually sit down and try a few of these, you realize the trick isn’t talent, it’s technique. And honestly, some of the easiest designs on this list look the most expensive.
I’ve pulled together over 17 animal print nail ideas I’ve either tried myself, watched my nail tech do, or seen done so well I bookmarked them immediately. Along the way I’ll tell you what actually worked, what flopped, and how to avoid the mistakes I made so you don’t have to learn them the hard way.
Why Animal Print Nails Keep Coming Back?
Animal print isn’t really a “trend” anymore in the sense that it fades away and comes back every five years. It’s more like a wardrobe staple at this point, the nail version of a leopard coat or a snake print bag. It works because it’s neutral in its own weird way. Brown and black spots go with almost every outfit, which is more than I can say for some of the neon color-block manicures I’ve tried.
The other reason it keeps showing up on my nails specifically is that it hides small imperfections really well. If your lines aren’t perfectly straight or your dots are a little uneven, animal print is forgiving because, well, real leopards aren’t symmetrical either. Nature did the design work for us.
Getting Your Base Right (Don’t Skip This Part):
Before I get into the actual designs, I want to talk about something almost nobody mentions: the base coat matters more than the print itself. I learned this the hard way when I applied leopard spots directly onto bare, slightly oily nails and watched the whole thing lift within two days.
Here’s what actually works for me now:
- Push back cuticles and buff the nail surface lightly so polish has something to grip onto.
- Apply a thin base coat and let it fully dry, not just “dry to the touch.”
- Do your base color in two thin coats rather than one thick one. Thick coats take forever to dry and are more likely to smudge when you start adding the print details.
- Wait at least 10 minutes before starting any pattern work. I know that feels excessive, but smudged spots are not cute.
Okay, now let’s get into the actual designs.
1. Chocolate Glazed Croc Nails with Nude Base:

This one looks intimidating but it’s honestly more forgiving than you’d think. You’re layering deep brown and plum crocodile-style shapes over a sheer nude base, then finishing with a glossy top coat that makes the whole thing look almost wet, like glazed donut nails but reptile-themed.
The trick here is patience. Do the croc pattern in sections, small overlapping shapes rather than trying to draw one continuous scale line. I use a thin detail brush (the kind that comes in most nail art brush sets from Amazon or your local beauty supply store) and work in tiny C-shapes.
2. Classic Dalmatian Print with Black and Gold Accent Nails:
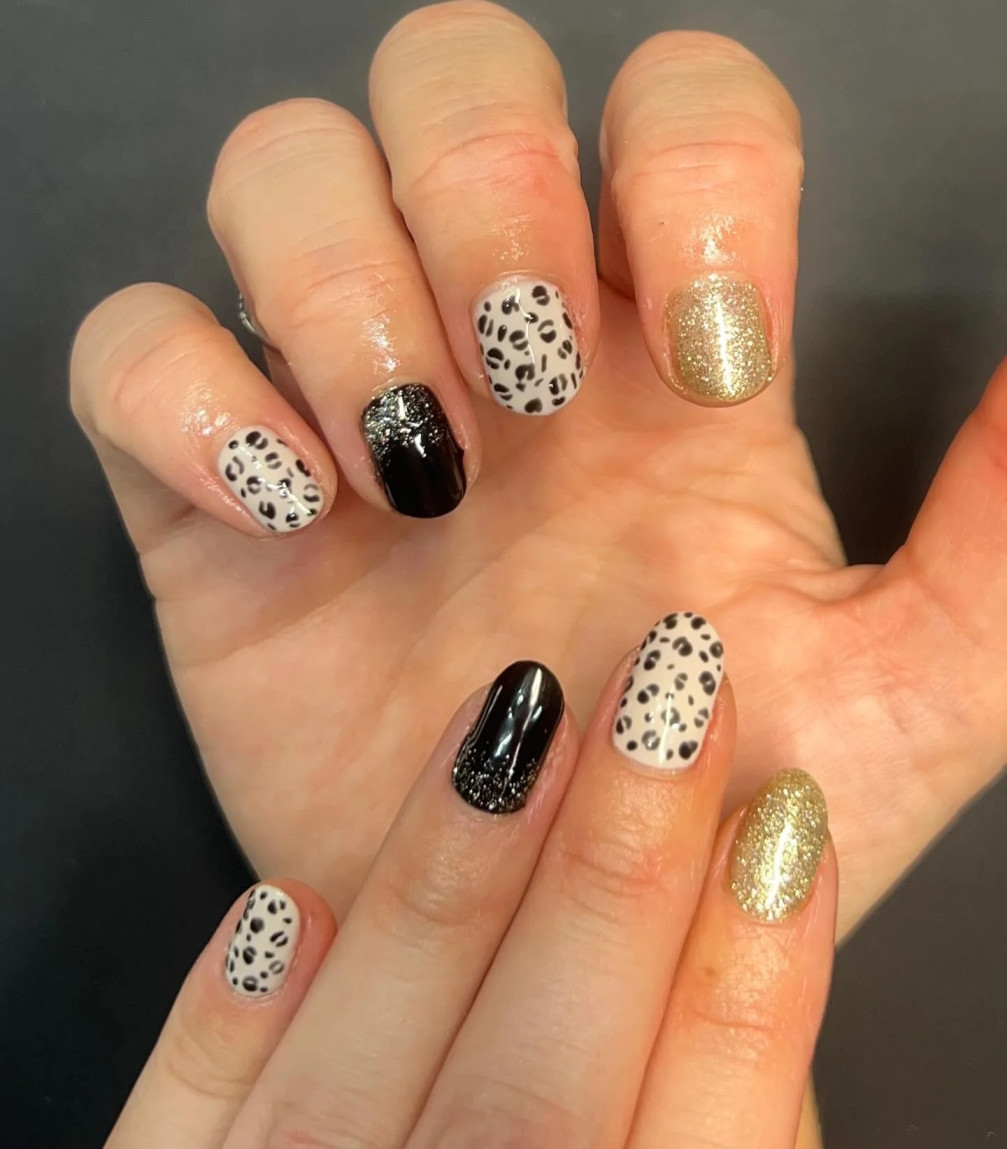
Dalmatian print is basically the beginner-friendly cousin of leopard print. The spots are simpler, rounder, and more randomly placed, so there’s less pressure to get a “perfect” shape. Pairing it with a solid black nail and a glittery gold accent nail keeps the whole set from feeling flat. If you’re doing this yourself, use a dotting tool instead of a brush. A bobby pin works in a pinch if you don’t own one. Dip it lightly in black polish and just tap it onto the white base in a loose, uneven pattern. Uneven is the goal here.
3. Olive Green Tortoiseshell Almond Nails:

Tortoiseshell print has quietly become one of my favorite alternatives to leopard because it feels a little more grown up. Warm amber and black marbling, framed by an olive green outline, on an almond-shaped nail looks like something out of an editorial spread but is genuinely doable at home. My honest tip: don’t overthink the marbling. Drag a thin brush through wet polish in loose, irregular strokes. If it looks too neat, it stops looking like tortoiseshell and starts looking like a checkerboard, which is not the vibe.
4. Soft Pink Leopard Accent Nails with Minimal Stars:
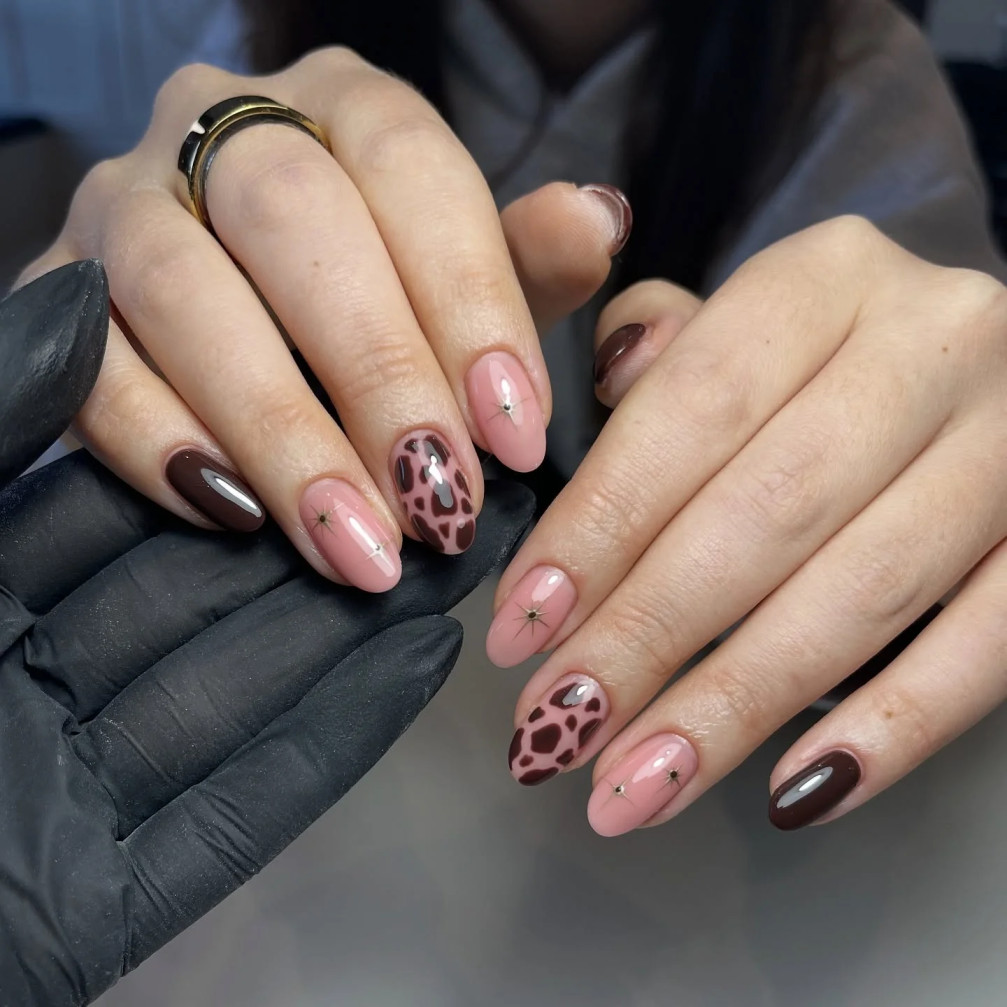
This is the one I recommend to anyone nervous about animal print for the first time. Most of the nails stay a soft, blush pink, and only one or two nails get the leopard treatment with a couple of tiny star details. It’s a low-commitment way to test whether you like the look before going full leopard across all ten nails. I did this exact combo before a friend’s bridal shower and got more compliments than I expected for something so simple.
5. Neutral Leopard Print with Black and Silver Glitter Mix:

Beige leopard spots, a glossy solid black nail, and one shimmering silver accent. This combo works because it plays with texture instead of just color. Matte spots against glossy black against sparkly silver gives your eyes something interesting to land on without being too busy. If your glitter polish always comes out patchy, apply it over a black base rather than trying to get full opacity from the glitter alone. Two thin layers of glitter over black looks far more even than three thick layers over nothing.
6. Minimal French Tips with Leopard Edge Detail:

This one’s for the office-appropriate crowd. Sheer pink base, crisp white tips, and just a whisper of leopard print tucked along the edge of the tip. It reads as classic and polished from a distance, but up close there’s a fun surprise. I’ve had this design done by my nail tech using gel polish and it held up for almost three full weeks without chipping, probably because there’s so little actual nail art to wear down.
7. Zebra Stripe French Tips with Soft Pink Base:

Same french tip concept, but swap the leopard spots for black zebra stripes. The curved tip line combined with the stripes creates a subtle sense of movement across the nail, which sounds dramatic for a manicure but it genuinely does look more dynamic than a plain french tip. Zebra stripes are actually easier to freehand than leopard spots because you’re not trying to layer multiple shapes. Just thin, slightly wavy lines in varying thickness. Uneven spacing looks more realistic than perfectly parallel lines.
8. Mixed Animal Print Nails with Neutral and Chocolate Tones:

Instead of committing to one print across all ten nails, this design mixes leopard patterns with solid chocolate brown nails on a neutral base. It’s a great option if you get bored easily or if you genuinely can’t decide between a full print set and a plain manicure. I did a version of this for fall last year and it became my go-to for weeks because it paired with literally everything in my closet, from denim to sweater dresses.
9. Pink and Neon Red Zebra Pattern Nails:
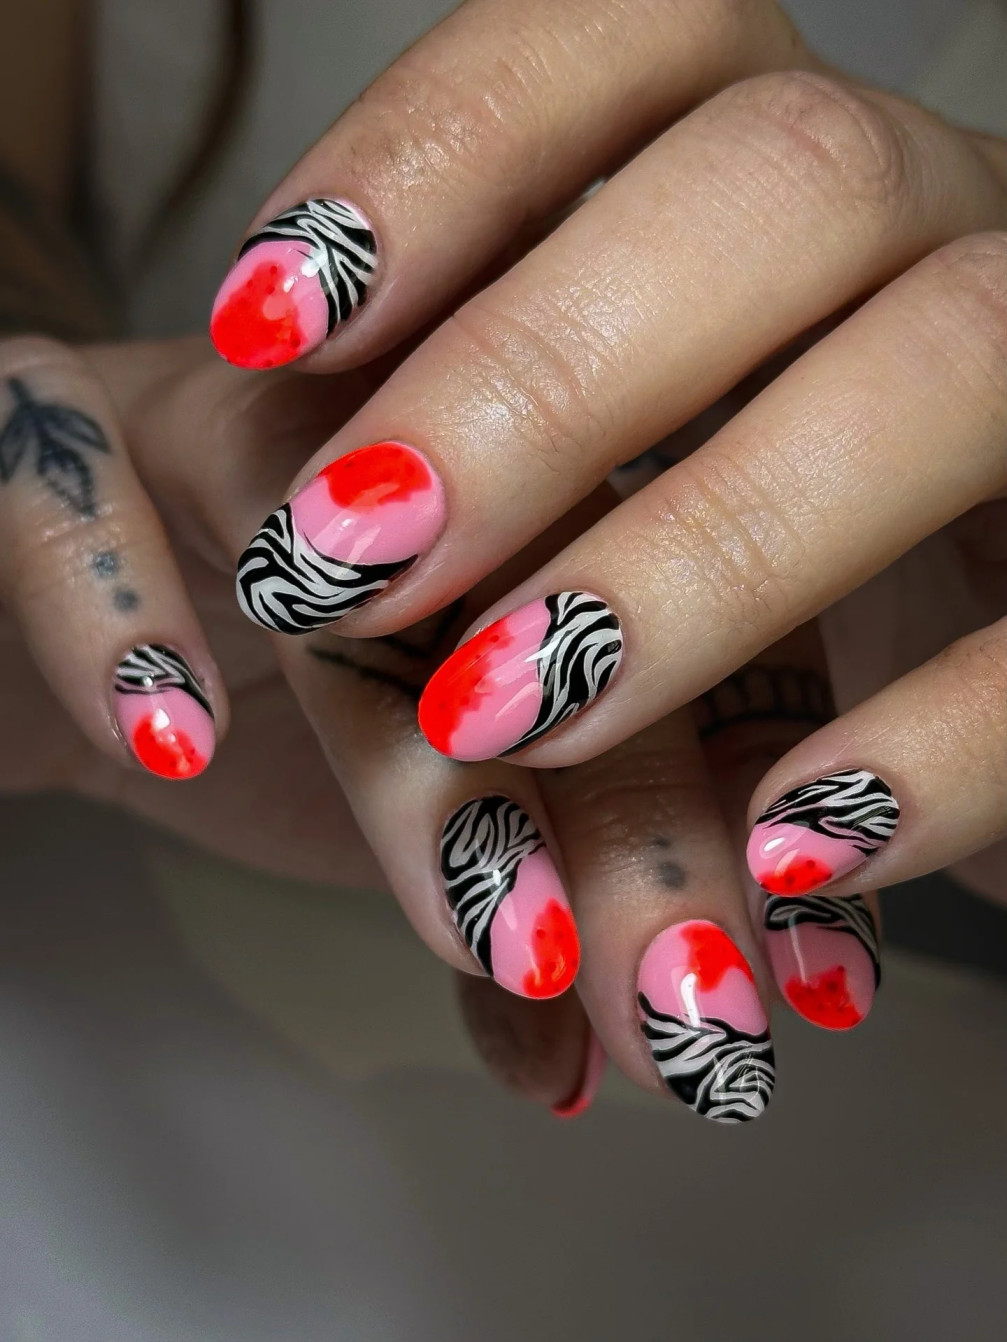
This is the boldest one on the list and I’m not going to pretend otherwise. Soft pink and vibrant neon red with black zebra striping on top, all finished with a high-gloss topcoat. It’s loud, but the gloss keeps it from feeling costume-y. If neon intimidates you, try it as an accent nail first rather than committing your whole hand. That’s what I did the first time and it gave me the confidence to go bigger the next round.
10. Metallic Bronze Leopard Print Almond Nails:
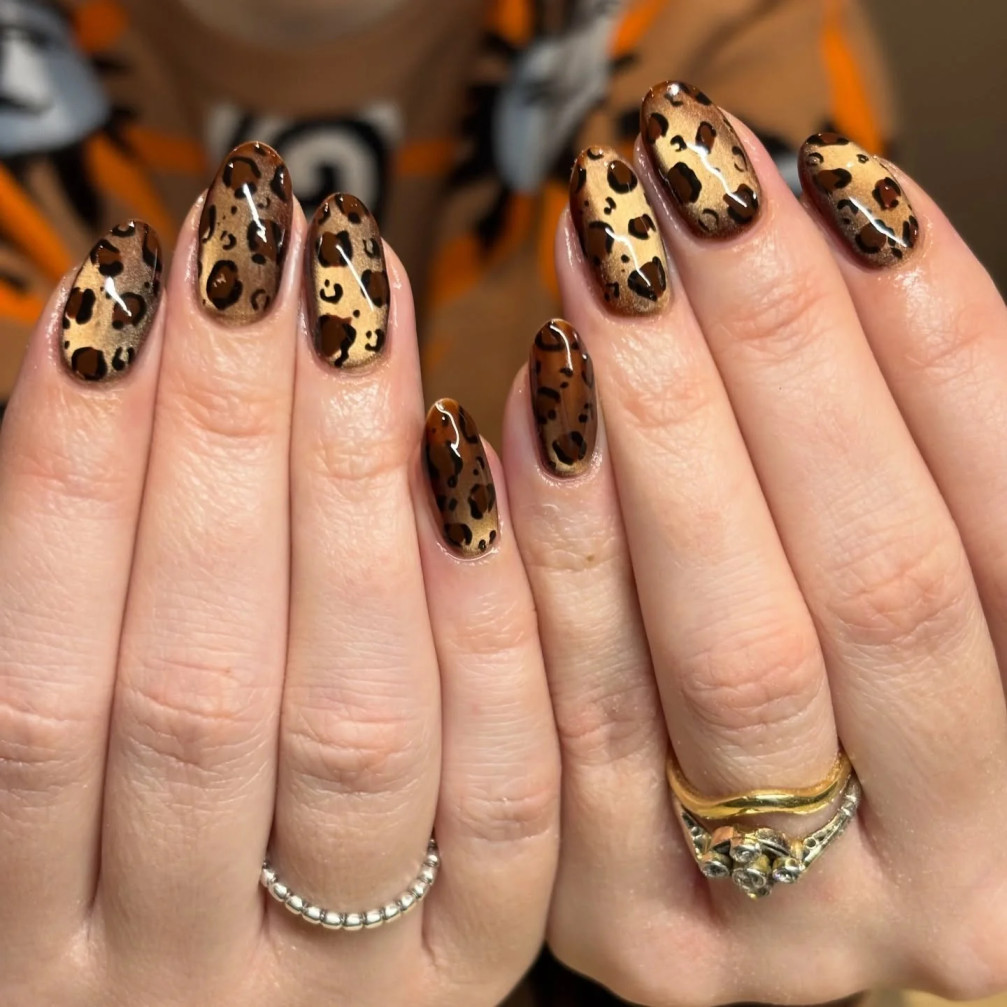
Swap the usual beige or nude base for a metallic bronze, and suddenly leopard print feels luxe instead of casual. The reflective base catches light in a way that makes the whole set look more dimensional, almost like the spots are sitting slightly above the nail. Metallic polishes can be streaky, so I always apply mine over a white or light base coat first. It genuinely changes the finish and saves you a coat or two.
11. Rainbow Zebra Almond Nails in Pink, Orange, Yellow, and Black:

This one’s pure fun. Bright pink, orange, and yellow bases with fine black zebra striping over each nail. It’s colorful without being childish because the striping pulls the whole set together visually. Great option for summer, a festival, or honestly just a random Tuesday when you want your hands to make you happy. I wore a version of this to a friend’s birthday and spent half the night looking at my own nails, which sounds silly but it’s true.
12. Neutral Mixed Animal Print Nails in Beige, Brown, and Black:
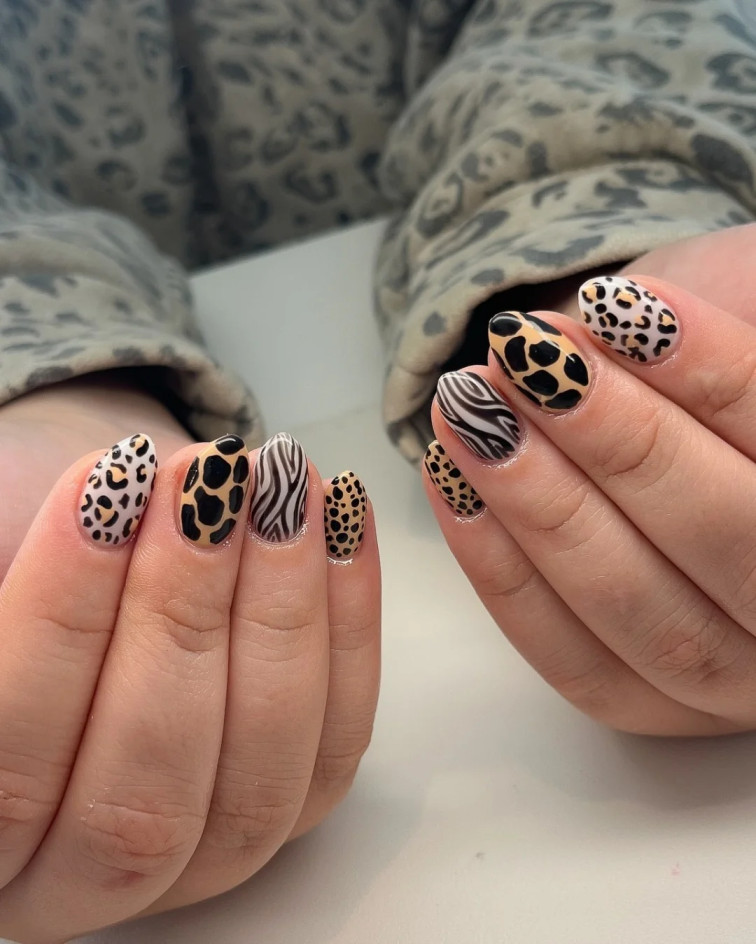
This design combines leopard spots, cow print, and zebra striping all in the same neutral color family. It sounds like a lot happening at once, but because everything stays within beige, brown, and black, it reads as cohesive rather than chaotic. This is one of the more advanced looks on this list purely because you’re managing three different pattern techniques in one set. I’d recommend practicing each print separately on a nail wheel or spare press-ons before attempting it live on your hands.
13. Short Mixed Animal Print Nails with Olive Croc and Zebra Detail:

Proof that you don’t need long nails to pull off animal print. This design blends tortoiseshell, zebra, and croc textures with an earthy olive accent, all on a short, practical length. Honestly, short nails are easier to do detailed art on because there’s less surface area to mess up. If you work with your hands a lot, this is probably the most realistic option on the whole list.
14. Soft Pink Leopard Almond Nails with Crystal Accents:

A soft pink base, scattered leopard spots, and a few small crystal embellishments. This is the design I’d recommend for a wedding, a milestone birthday, or any event where you want your nails a little extra without going full glam. Apply crystals while the top coat is still slightly tacky, then seal everything with a second layer of top coat around (not directly on top of) the crystal to lock it in place without dulling the sparkle.
15. Eclectic Animal Print Almond Nails with Green Croc Accent:
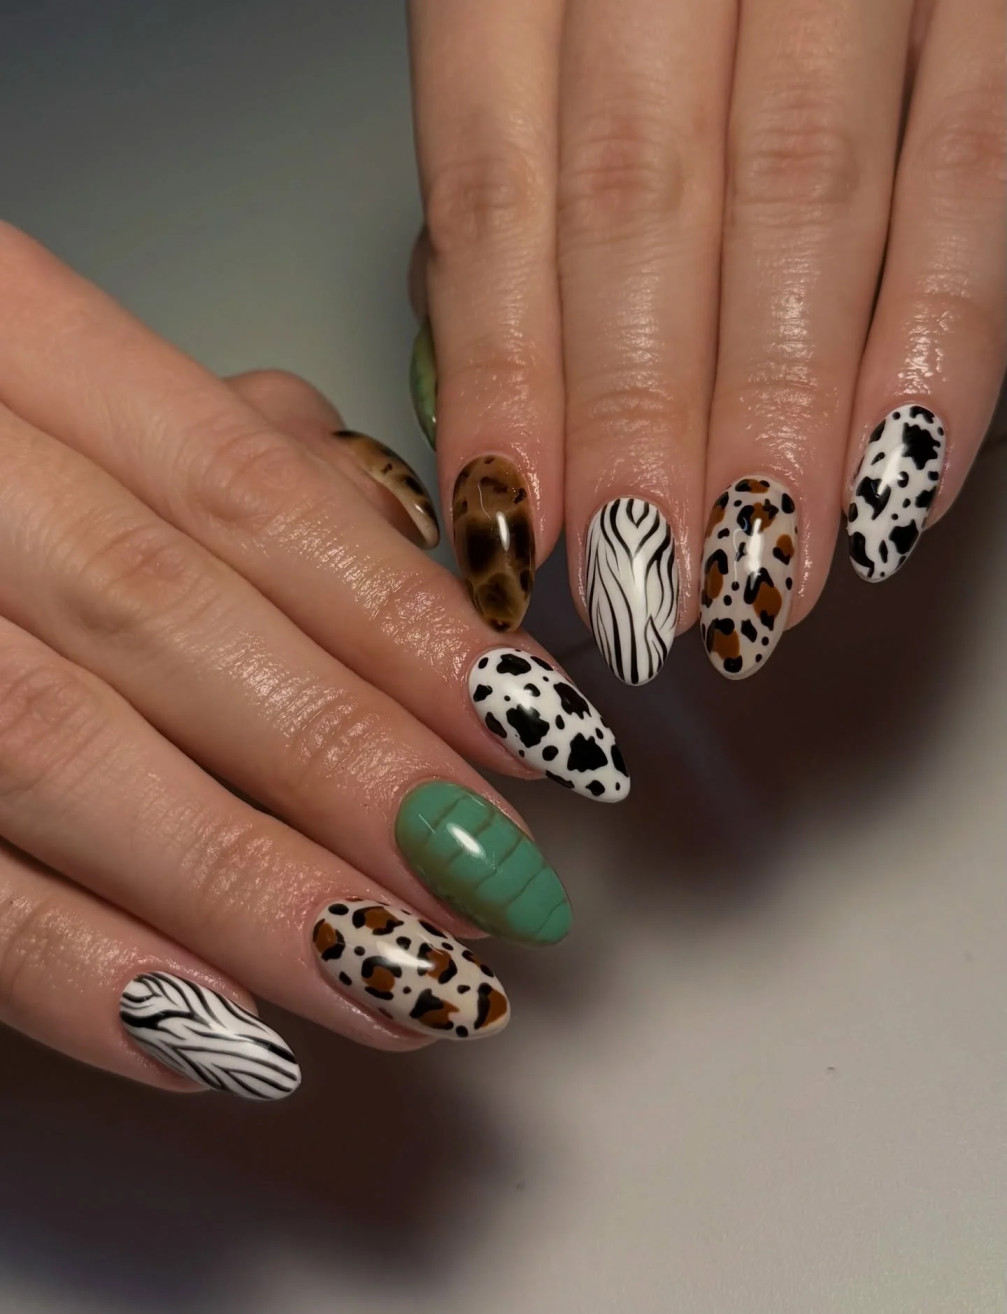
Zebra, cow, leopard, and tortoiseshell prints all in one set, tied together with a bold green crocodile accent nail. This is genuinely one of the more advanced looks here, and it’s not for anyone who wants a subtle manicure. If you’re going to try this one, I’d suggest doing it with press-on nails first. It gives you room to experiment with the layout without the pressure of ruining your natural nails on the first attempt.
16. Wild Elegance: A Fusion of Leopard Spots and Zebra Stripes:
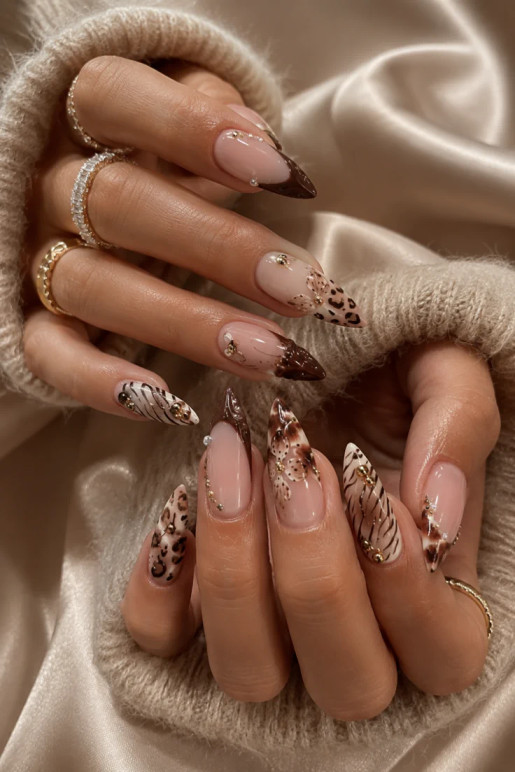
This design blends leopard spots and zebra stripes over a soft nude base, finished with small gold beads and studs for a bit of shine. The earthy palette of browns, creams, and blacks keeps it from feeling overly busy despite combining two prints. What makes this one work is that each nail tells its own small story instead of repeating the same pattern ten times. Some nails lean fully into leopard, others go full zebra, and the gold accents tie the whole hand together.
17. The Wild Allure of Chocolate and Leopard:

Half solid, glossy chocolate brown nails, half sheer leopard print in dark brown and red with black outlines for drama. This contrast between plain and patterned is what makes the set feel balanced instead of overwhelming. It’s a great pick if you love animal print but don’t want every single nail competing for attention. Letting a few nails stay plain gives your eyes somewhere to rest.
Common Mistakes I’ve Made (So You Don’t Have To):
A few lessons that took me way too long to learn:
Using too much polish on your brush: This is the number one reason spots turn into blobs. Wipe off most of the polish on the bottle rim before you even touch the nail.
Going in with too much confidence on the first nail: I always practice my pattern on my pinky first, since it’s the smallest and easiest to redo if it goes wrong, before moving to my more visible nails.
Skipping top coat, or applying it too soon: Animal print designs have a lot of layered polish, and sealing it too early can drag colors into each other. Give it a few extra minutes.
Not cleaning up the edges: A small angled brush dipped in acetone is a total game changer for cleaning up smudges around the cuticle line without redoing the whole nail.
Trying a complicated design the night before an event: Learn from me. Practice the pattern earlier in the week, not at midnight before a wedding.
A Few Practical Tips If You’re Doing This At Home:
If you’re not going to a salon, a few tools genuinely make a difference: a thin detail brush, a dotting tool, striping tape for cleaner lines on the french tip designs, and a good quality top coat. I’ve used Seche Vite and also some drugstore options, and honestly the top coat matters more than the brand of colored polish underneath it.
Nail stamping plates are also worth trying if freehand isn’t your thing. There are tons of leopard and zebra stamping designs available, and they take a lot of the pressure off getting the pattern exactly right by hand.
Final Thoughts:
Animal print nails have stuck around because there’s genuinely a version for every personality, from the soft pink leopard accent for someone who wants a hint of edge, to the full eclectic mixed print set for someone who wants their hands to make a statement before they even say a word.
If you’re trying this for the first time, start small. One accent nail, one print, one color palette. You’ll get a feel for how the polish moves and how much pressure to use, and from there it’s just a matter of building up to the bigger, mixed designs. I promise the learning curve is shorter than it looks, even if your first attempt ends up looking a little more “spotted dog” than “leopard.” Mine did too, and I still wore it out anyway.