I still remember the first time I tried to do a French manicure on myself. It was a Sunday night, I had a job interview the next morning, and I figured “how hard can a white line be.” I sat on my bathroom floor with a bottle of white polish, a shaky hand, and way too much confidence. Twenty minutes later I had white paint on my cuticles, on the sink, and somehow on my eyebrow. I went to that interview with my nails wrapped in bandaids because I’d also somehow cut myself with a nail file.
That disaster didn’t stop me though. It just made me obsessed. Over the last few years I’ve tried more than thirty French tip variations, some at home with drugstore polish and some at the salon when I wanted to splurge for a birthday or a wedding. I’ve kept a rough mental log of which shapes actually last two full weeks, which ones start chipping by day three, and which ones look expensive even when the whole look cost me under fifteen dollars.
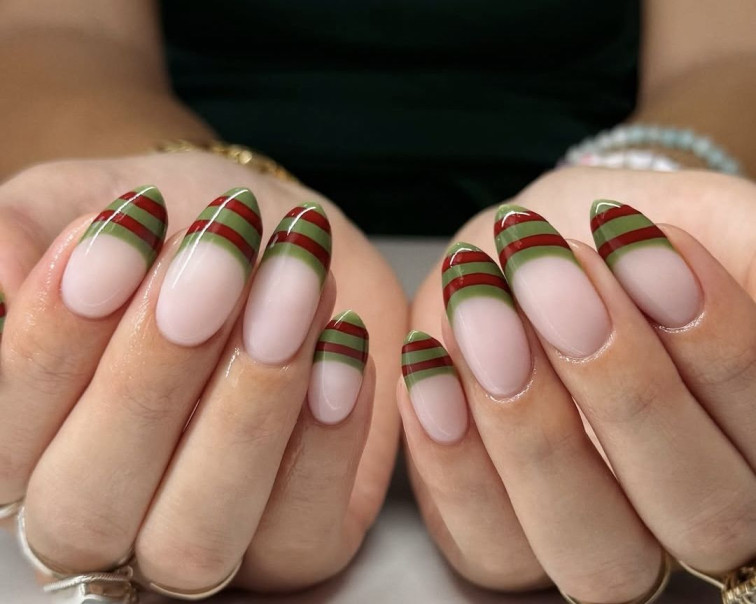
If you’ve ever thought French tips were boring or something your mom wore in the nineties, I promise you they’ve had a full glow up. The classic white line on a nude base is still around and still gorgeous, but nail artists have taken that basic idea and stretched it into dozens of directions you can genuinely have fun with. Below are more than 20 French tip designs I’ve either tried myself, watched a friend try in my own living room, or fell for after seeing them in person at a salon. I’ll tell you honestly what worked, what flopped, and what I’d actually pay for again.
Getting the Basics Right First:
Before you jump into anything fancy, it helps to nail the classic version. Pun fully intended, and I’m not sorry.
A nude or soft pink base is the most forgiving option because it grows out gracefully and doesn’t scream for a touch up the second your nails start growing. I personally reach for a warm beige, something close to my natural nail color but a shade smoother, like OPI’s Bubble Bath or Essie’s Ballet Slippers, both of which are easy to find at most drugstores.
If you’re painting the tips freehand, use thin nail tape or French tip guide stickers, like the Kiss brand ones sold at most drugstores. I ignored this advice for way too long because I thought I could eyeball it. I could not. The stickers cost around five dollars, and they instantly made my lines look ten times cleaner, no exaggeration.
Gel polish is also worth mentioning here. It dries slower than regular polish, which sounds annoying but actually buys you time to fix the curve of the tip before it sets. If you mess up a line with gel, you can wipe it off with a small brush dipped in gel cleanser and redo it without starting the whole nail over. This alone saved me from redoing an entire manicure probably a dozen times.
Nail shape matters more than people think. Square and squoval nails show off a straight classic tip beautifully. Almond and coffin shapes tend to look better with a slightly curved or diagonal tip, since a hard straight line can look strange against the tapered edge. If your nails are on the shorter side, several of the designs below, especially the micro tip styles, will genuinely make them look longer without any length extensions.
This is the one everyone pictures, and for good reason. Clean white line, nude or soft pink base, done. It never really goes out of style because it goes with everything, from jeans and sneakers to a wedding dress. I keep coming back to this one before job interviews or first dates when I don’t want to think too hard about my nails but still want them to look put together. Time cost at home: about 25 minutes once you’ve practiced a few times. Salon price where I live runs somewhere between 35 and 50 dollars depending on gel versus regular polish.
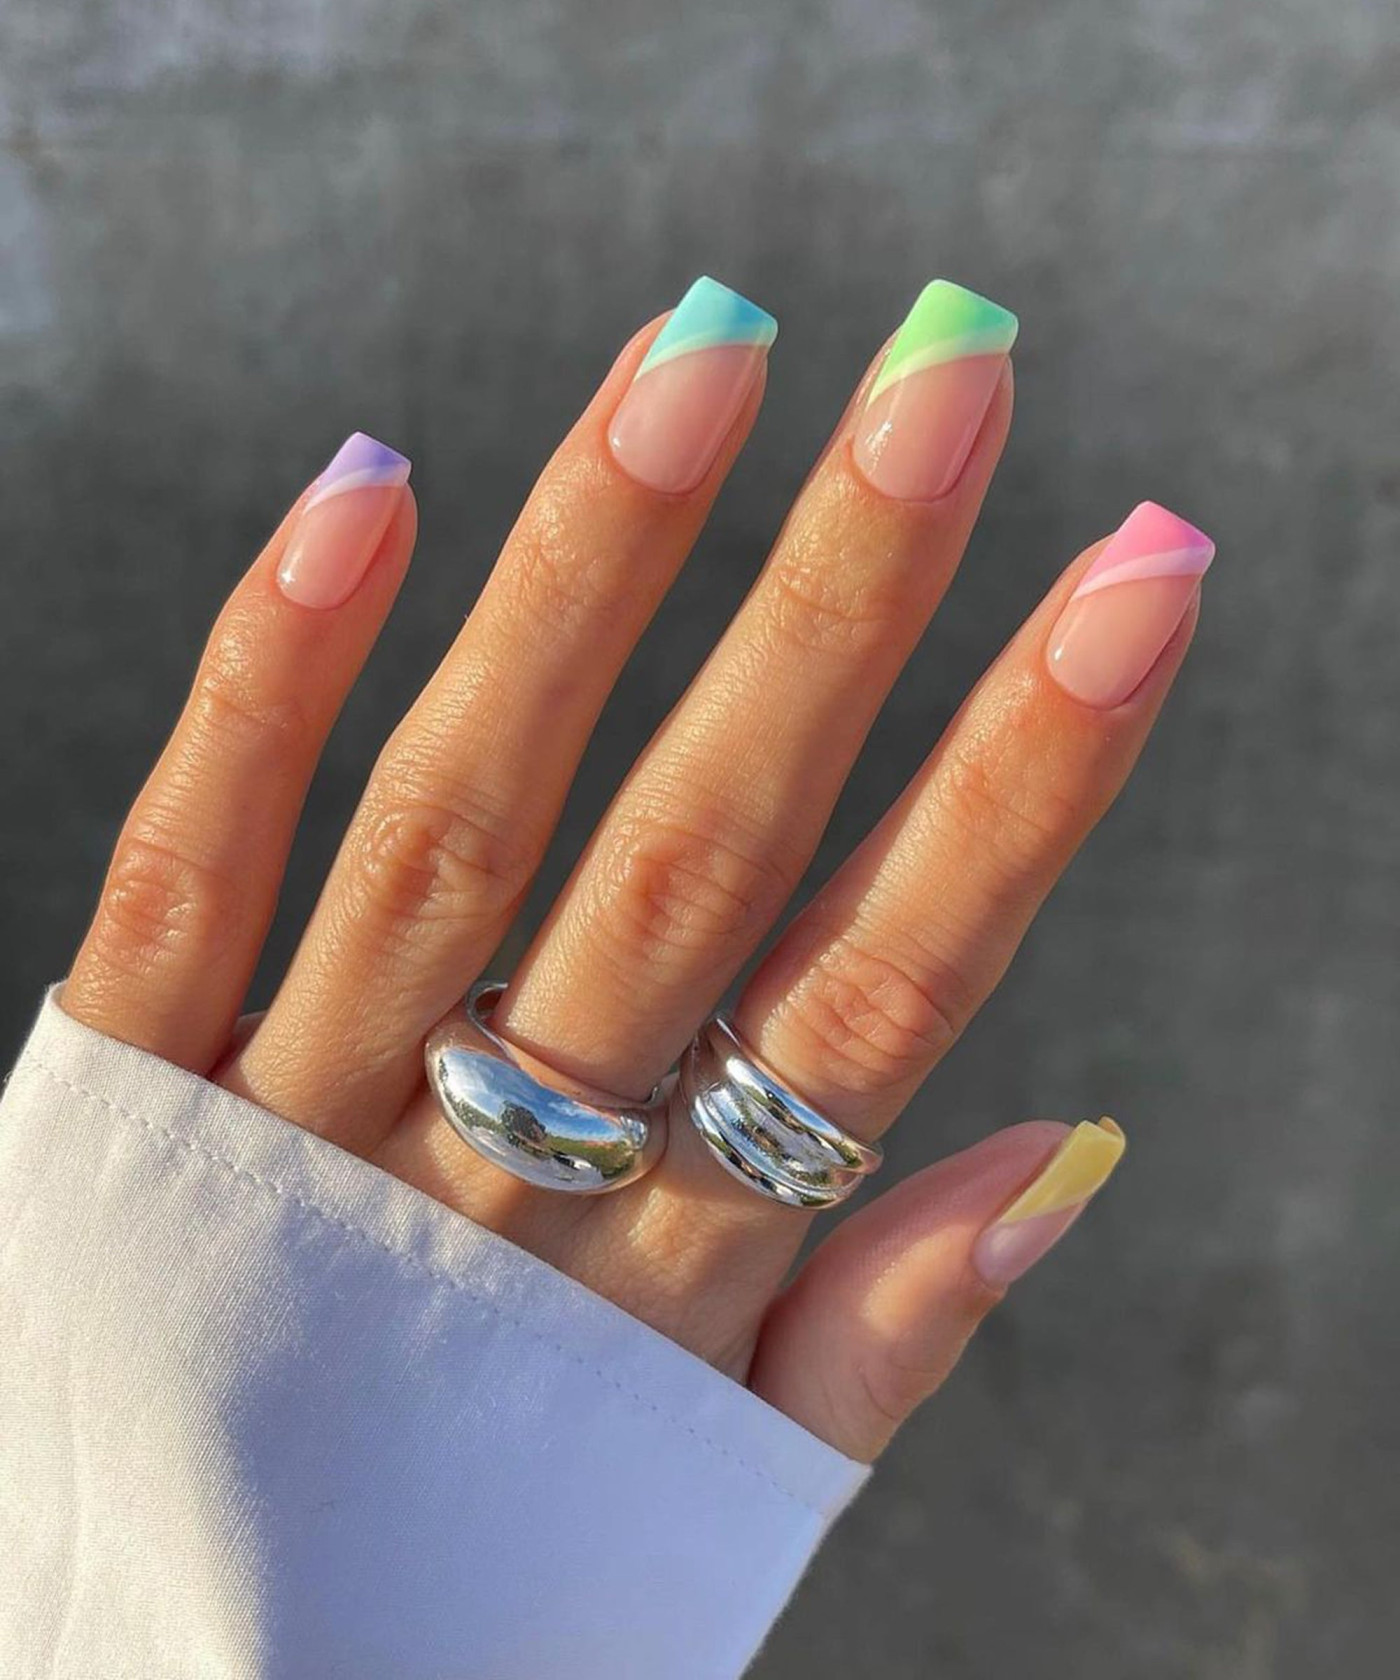
Instead of white, paint each nail a different colored tip. Yellow on one nail, lavender on the next, then a soft blue, then back to pink. I did this before a beach trip to Florida a couple summers ago and got stopped by two strangers in an airport asking where I got it done. The trick I learned the hard way is picking colors from the same tone family, all pastels or all jewel tones, so it looks intentional instead of like you grabbed random bottles off a shelf. Mixing a neon with a muted color in the same set usually looks off.
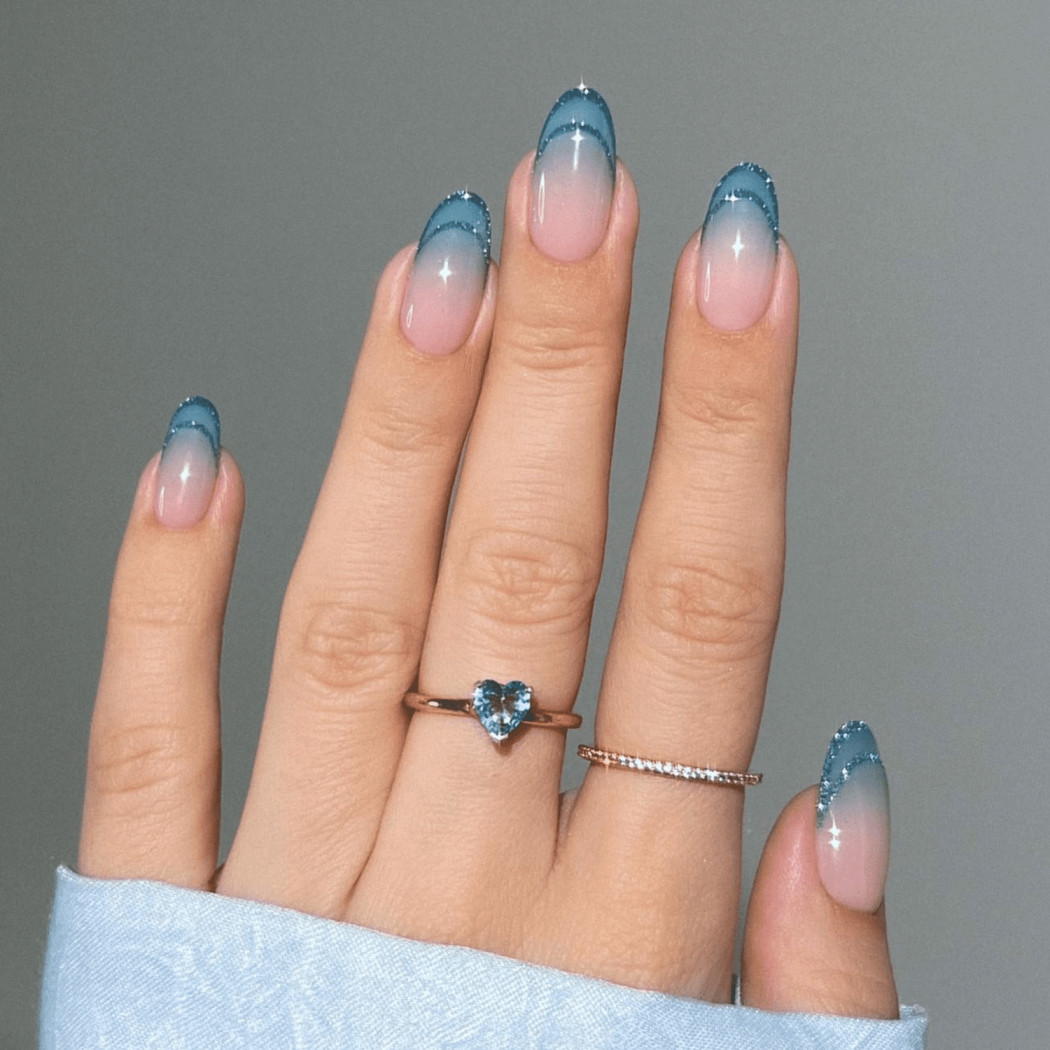
This one blends the tip color into the bare nail instead of having a hard line. You can create the fade with a makeup sponge, dabbing the color on in layers so it builds gradually. My first attempt looked more like a smudge than a fade because I loaded way too much polish onto the sponge in one go. My actual method now: dip the sponge lightly, dab a test patch on paper first, then apply to the nail in two or three light layers rather than one heavy one. It takes longer but the gradient actually looks like a gradient instead of a mistake.
Tiny painted cherries sitting near the base of a classic white tip. This looks complicated but it’s really just two small red dots with a thin green stem line connecting them. A detail brush with a fine tip, the kind that comes in most five dollar nail art kits from Amazon, makes this manageable even for beginners. I added this to my thumbs only for a friend’s baby shower where the theme happened to be a cherry motif, and it took maybe ten extra minutes total across both hands.
Pick two shades from the same color family, like a muted gray brown for the base and a darker chocolate brown for the tip. It gives a sophisticated, almost editorial look without needing any real nail art skill, just a steady hand and a thin brush for the line.
This was my go to for an entire fall season. It photographs incredibly well in low, warm lighting, which matters more than people realize if you’re someone who takes hand photos for social media or work.
Instead of a straight tip, paint a diagonal line from the corner of the nail down toward the cuticle on both sides. It sounds tricky but a striping brush, which is just a very thin, long bristled brush, makes it far more manageable than trying to freehand it with a regular polish brush.
I’ll be honest, this one took me three tries to get symmetrical between my left and right hand. If you’re right handed like me, your left hand will look noticeably better than your right at first. That’s normal, keep practicing on your dominant hand’s nails specifically.
Bold, swirled colors mixed together right at the tip, almost like a tiny abstract painting on each nail. I used a dotting tool to swirl two wet polishes together directly on the nail before they had a chance to dry.
It is genuinely messy work, there’s no way around that, and I recommend doing this over a paper towel with acetone nearby for cleanup. But the result looks far more expensive than the ten minutes of effort it actually takes once you get the hang of it.
This design outlines just the edge of the tip and leaves the middle bare, so your natural nail shows through the outline. It has a modern, almost architectural feel that stands out from a typical French mani.
Thin nail art tape was essential for me here. Freehanding a thin, even outline without smudging the inside is genuinely one of the harder techniques on this list, so don’t get discouraged if your first attempt looks a little wobbly.
You don’t need a full nail art design on every single finger to make a statement. Add one small decal, a flower, a heart, a tiny cartoon sticker, to just one nail, usually the ring finger. This is the laziest option on this list and honestly one of the most effective.
I’ve used this trick specifically when I’m short on time before an event. It takes under two minutes and still draws the eye without requiring any actual painting skill.
A super thin white line instead of the classic thicker tip. This works especially well if you have shorter nails because the thin line makes your nail bed look longer without needing acrylics or extensions.
I switched to this style after a bad gel removal left my natural nails thin and short for a few months. It genuinely helped them look less stubby during that awkward growing out phase, and it became my go to look for almost half a year.
A thin strip of glitter polish instead of solid white or color at the tip. This works beautifully over a black or deep navy base for something moody but still festive, and it’s one of my favorite winter looks.
Fine glitter polish, like Sally Hansen’s fine shimmer formulas, applies far more evenly than chunky glitter polishes, which tend to clump at the tip and look uneven. Stick to fine glitter if this is your first attempt.
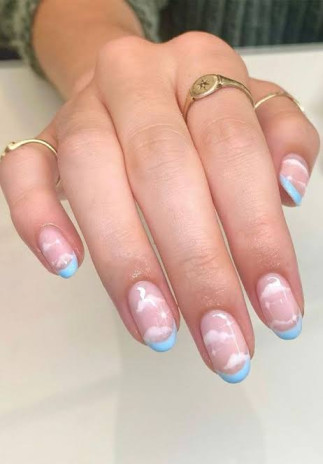
A dreamy, whimsical option where you paint a small fluffy cloud shape on a bare or pastel base instead of a straight line. It’s playful and works really well heading into spring.
A small round brush and some patience is all you need. I’d recommend practicing the cloud shape on a scrap piece of paper first, since clouds are surprisingly easy to mess up and turn into blobs if you rush it.
Chrome nail powder buffed onto just the tip of the nail creates a metallic, mirror like finish that catches light in a really satisfying way. I tried this over a deep blue base for a friend’s wedding and it looked genuinely stunning under the venue’s string lights.
Chrome powder kits, like the ones from Born Pretty or similar nail supply brands, are affordable online and you only need a tiny amount per nail, a little goes a very long way here. Apply it with the small sponge applicator that usually comes in the kit, not your finger, or you’ll waste half the product.
Paint a tortoiseshell pattern using browns, oranges, and black across the whole nail, then add a thin white micro tip layered on top. This is one of the more advanced designs on this list.
I would not recommend this as a first nail art project. Practice the tortoiseshell pattern on paper or an old nail wheel first, since getting the blotchy, organic look right takes more attempts than you’d expect. Mine took four practice rounds before I trusted myself to do it on an actual nail.
This is the modern, quiet luxury version of a French tip that’s been everywhere the last couple years. You paint the colored tip first, let it dry completely, then layer a sheer pink or nude polish over the entire nail so the tip becomes soft and barely visible.
It’s subtle, almost like you have to look twice to notice it’s there. I get compliments on this one more than almost any other style, probably because it looks effortless even though there’s actually a specific two step process behind it.
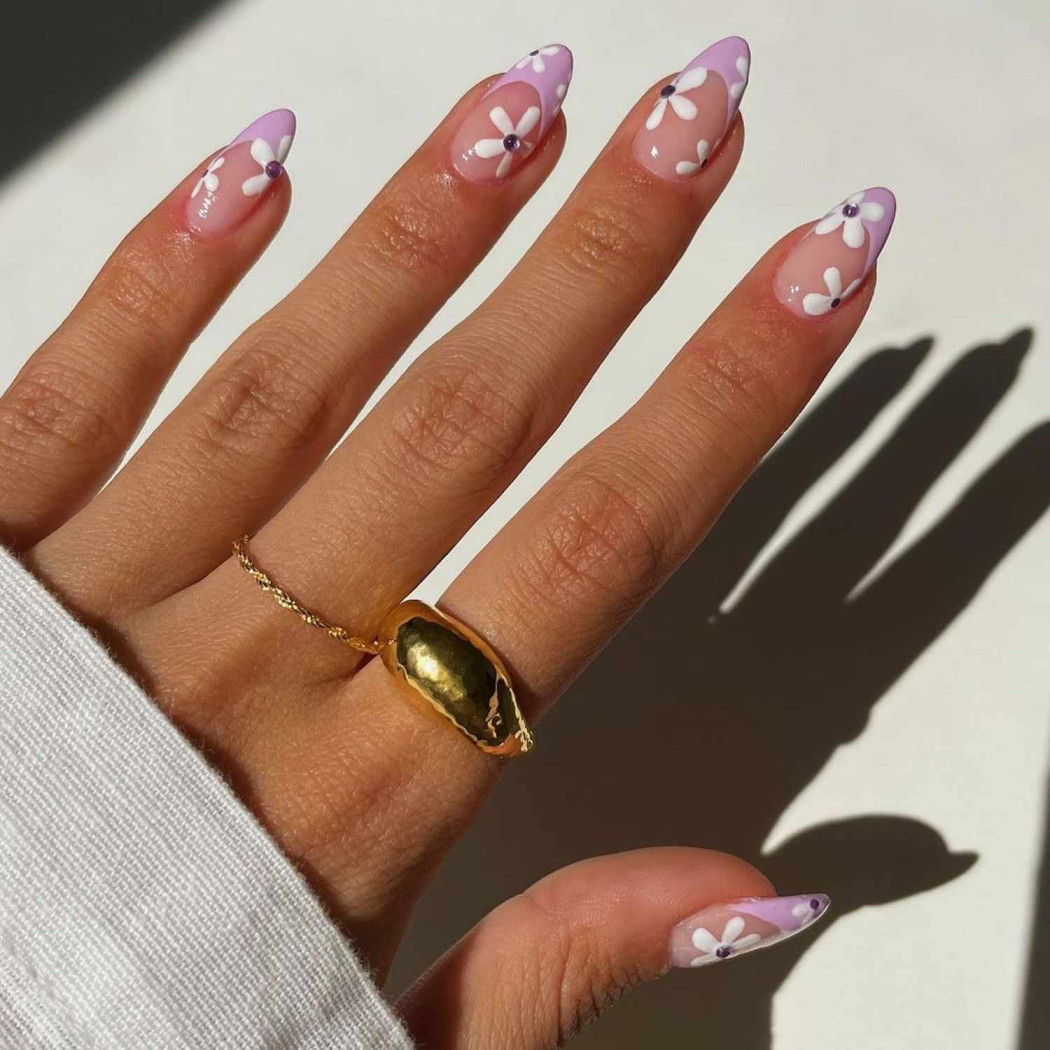
Tiny hand painted daisies along the tip line instead of a solid color block. This takes real practice, but a dotting tool makes the individual daisy petals so much easier than trying to freehand each petal with a brush.
My method: five small white dots arranged in a circle for the petals, then one yellow dot in the center. Doing this on all ten nails took me close to 40 minutes the first time, closer to 20 once I’d done it a few times.
Small rhinestones or metal studs placed right at the curve where the tip meets the base of the nail. Nail glue or a clear top coat, applied while it’s still tacky, works to hold them in place through normal daily wear.
A word of caution from experience: don’t overdo it with large stones if you type a lot for work or play an instrument. I learned this after a stud caught on my laptop keyboard cover and popped off within two days. Smaller, flatter studs hold up much better under daily use.
A small metallic decal, a cross, a star, or another symbol, placed at the center of the tip rather than covering the whole nail. This gives a slightly edgier, almost gothic feel to an otherwise classic, soft look.
I tried this with a matte black base and a silver cross decal for Halloween one year and kept it on for almost three weeks afterward because I liked it so much more than expected. Great option if you want something a little different for fall or a darker color season.
Using a textured top coat or actual 3D nail art gel, you can create small raised dents or ridges right at the tip for a tactile, sculptural effect that you can actually feel, not just see. I tried this with a lavender base and it genuinely felt different to run my finger across compared to a flat manicure.
This one requires curing under a UV or LED lamp if you’re using true 3D gel, so it’s harder to do well without at least a basic at home lamp, which usually costs between 20 and 40 dollars for an entry level version.
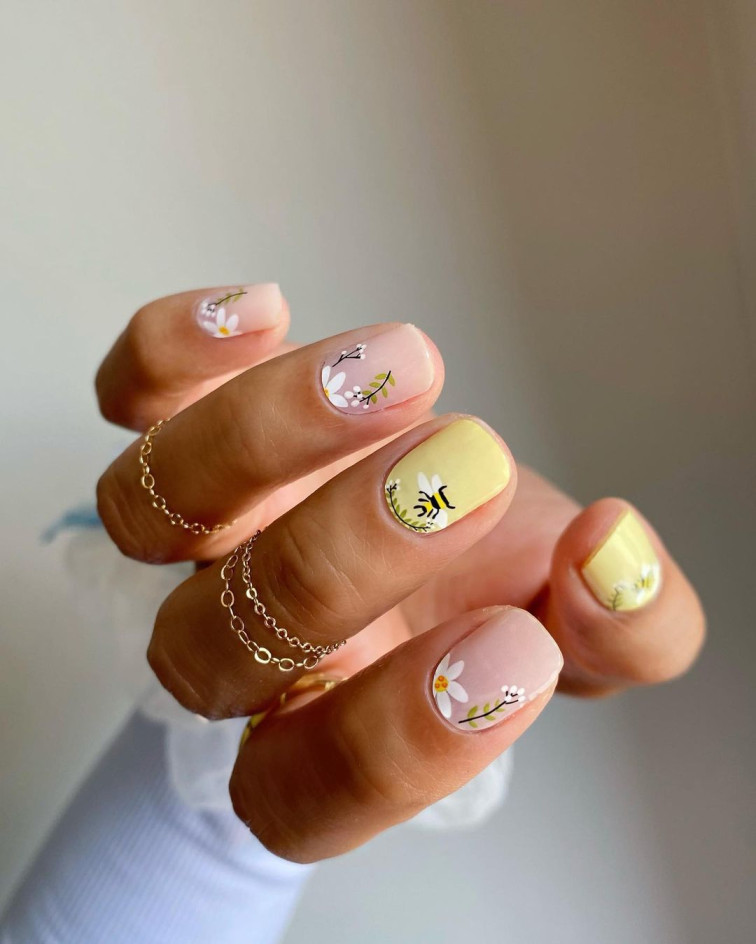
A soft, buttery yellow tip layered over a chrome or iridescent base. This color has been showing up everywhere the last year or two, in clothing, in home decor, and now on nails, and it translates beautifully because it’s warmer and less harsh than a bright, primary yellow.
It’s genuinely one of the easier colors to wear daily without feeling like it’s trying too hard, which surprised me since I usually think of yellow as a hard color to pull off on nails specifically.
Dots of a contrasting color, black on white, red on white, or white on a deep color, placed along the tip line instead of a solid block. A dotting tool works best, but the rounded end of a bobby pin works in a pinch if you don’t own one.
I did this on a whim before a friend’s art show opening using nothing but a bobby pin and the polish I already had at home, and it ended up being one of the cheapest, fastest looks on this entire list, done start to finish in under 15 minutes.
A translucent, jelly like pink base paired with a soft pastel colored tip. Jelly polishes have a glassy, almost bubblegum look that’s genuinely different in texture and finish from a regular cream polish, and they photograph beautifully in sunlight.
If you haven’t tried a jelly formula before, brands like Essie and Sally Hansen both make jelly finish lines that are widely available and a good place to start. I’d recommend it as a summer specific look since the translucent finish looks especially good with a tan.
Mistakes I Made So You Don’t Have To:
Skipping the base coat: I used to skip this step out of pure impatience, and my natural nails would stain yellow underneath and the polish would chip within two days. A basic ridge filling base coat fixes both problems and takes an extra 90 seconds.
Painting tips too thick: A thick white tip looks chalky and can actually make your nails look shorter and stubbier, not longer. Thin, even lines almost always look more polished and more expensive, even with cheap polish.
Not cleaning up the edges: Even a genuinely great design looks messy if there’s polish smudged around your cuticles. A small angled brush dipped in nail polish remover is the single easiest cleanup tool, and I now keep one in my kit permanently.
Rushing the drying time: I cannot count how many designs I ruined by putting gloves on too soon or grabbing my phone before the polish fully set. Quick dry top coats genuinely help speed things along, but patience still matters more than any product you can buy.
Choosing a shape that doesn’t match your nail length: Long, dramatic tips look great on longer nails but can look strange and disproportionate on short ones. The micro tip style exists for exactly this reason, so lean into it if your nails are naturally on the shorter side rather than fighting it.
Not accounting for your lifestyle: If you type all day, do dishes constantly, or work with your hands, heavier 3D textures and large studded accents will not survive as long as a flat, simple design. I learned this after losing two studs within 48 hours during a busy work week.
How Long Do French Tips Actually Last, and What Do They Cost?
This depends heavily on whether you use regular polish or gel, and how hard you are on your hands day to day. In my own experience, regular polish French tips last about 4 to 6 days before visible chipping starts, especially at the tips themselves since that’s the part that takes the most daily wear. Gel versions last much longer, usually 2 to 3 weeks, with the trade off being that removal requires soaking in acetone or a trip back to a salon, rather than just peeling or wiping it off.
Cost wise, doing it yourself with drugstore polish runs somewhere between 10 and 25 dollars total for polish, base coat, top coat, and guide stickers, and that kit will last you for many manicures afterward. A salon gel French manicure where I live typically runs between 35 and 60 dollars depending on the design’s complexity, with more detailed art like the tortoiseshell or 3D textured styles pushing toward the higher end of that range or beyond.
A Few Tools That Made a Real Difference for Me:
I’m not sponsored by any of these, just sharing what’s actually worked in my own kit over time. French tip guide stickers from Kiss took my lines from shaky to clean almost overnight. A basic five dollar detail brush set from Amazon opened up so many of the designs on this list, from the cherries to the daisies to the swirl print. A quality top coat, one that actually stays glossy for more than a day or two, like Seche Vite, made every single design last noticeably longer regardless of which base polish I used underneath it.
Frequently Asked Questions
Can I do French tips if I have short or bitten nails?
Yes, and honestly this is where they shine. Stick to the micro tip style or the classic thin line rather than a thick, dramatic tip, since thin lines elongate short nails instead of making them look stubbier.
Do French tips work on acrylic or gel extensions?
Yes, and many of the more advanced designs on this list, like the tortoiseshell base or the 3D textured tips, are actually easier to execute on a longer, more stable extension than on a natural nail.
What’s the easiest design on this list for a total beginner?
The classic white tip using guide stickers, the accent nail decal, or the polka dot design using a bobby pin. All three require minimal freehand skill and can realistically be done in under 20 minutes total.
How do I remove a French tip manicure without damaging my nails?
For regular polish, standard remover works fine. For gel, soak cotton balls in acetone, place them directly on each nail, wrap in foil, and wait about 10 to 15 minutes before gently sliding the softened gel off. Never pick or peel gel polish off, since that pulls off layers of your natural nail along with it.
Will French tips work with a matte top coat?
Yes, and it’s a nice way to change up a classic design without repainting anything. A matte top coat over the chrome, negative space, or classic white tip designs gives each of them a completely different, more modern feel.
Final Thoughts:
French tips get written off as basic sometimes, but once you start playing with color, shape, and small details, they turn into one of the most versatile nail looks out there. You don’t need a salon appointment or professional level skill to try most of these. A steady hand, a bit of patience, and a few guide stickers will get you most of the way there.
Start with one or two designs that feel manageable, especially if you’re newer to nail art, and build up to the more advanced ones like the tortoiseshell or 3D textures once you’ve got the basics down. And if a design doesn’t turn out perfectly on the first try, that’s completely normal. Some of my favorite looks on this entire list came after a few failed attempts that taught me exactly what not to do next time.
Style Nexus is written and run by Matilda. What started as a personal interest in fashion, beauty, and everyday styling grew into this site a place to share outfit ideas, beauty tips, and style inspiration with anyone looking for a bit of direction on their own look.